If you love watching live streams, there’s no doubt you have thought about becoming a streamer yourself. However, it can be difficult to know where to start. Plus, creating a dedicated space for a streaming or gaming room can feel nearly impossible when you live in an apartment and have limited square footage.
To help you make your streaming goals a reality, we consulted with streaming and gaming enthusiasts from around the country to share their best tips on how you can create a streaming room in your apartment. Whether you live in a cozy Seattle apartment or a condo in Orlando, you’re sure to find some great tips to get you started.

1. Sound and lighting are key
A good streaming room should have two things done right: sound and lighting. Make sure to soundproof your room with basic acoustic treatment such as panels and bass traps – they’ll enhance the sound quality of your microphone and add a nice touch to the interior. And when it comes to lighting, you don’t need anything fancy. Get some cheap lights from eBay, check the tutorials on basic lighting schemes and combine them with the lighting you already have in a room. – Kudos
Remember to keep three things in mind: line of sight, sound, and light control. Modern external webcams and PTZ cameras are fantastic in less than ideal light. Another point to remember is camera position. A camera should be set up as close to your eye line as possible, ideally directly above the monitor, especially if reading a script or prompter, as this helps maintain engagement with your audience. – Liam Hayter, Senior Solutions Architect at NewTek
First, find a quiet, dedicated location. If you’re renting and don’t have a dedicated space, consider using a spare closet for your streaming room. If you can’t install acoustic tiles on the walls, consider putting down a rug to help absorb excess noise. Second, focus on audio and invest in a good, quality USB microphone. This way, your streams sound good to viewers. Lastly, to improve your lighting, try and put the light source in front of you. A window can provide a lot of great natural light. – StreamYard
2. Invest in quality equipment
We craft premium tools for audio enthusiasts, so we believe people should invest in their passions to the same degree they’re passionate about them. Remember, when buying hardware, most often, you get what you pay for. So, what may seem like a bargain at first, can become a burden later. So why not buy gear that matches your passion and invest smartly in gear the first time around? In short – don’t skimp on your gear. – Audeze
During the broadcasts and gaming sessions, streamers tend to lose track of time. During such moments it’s important to have a quality, comfortable chair that’ll support your spine and posture for many sitting hours. Also, don’t forget to stretch. – justNANAtv on Twitch
3. Make sure the room has good audio quality
One of the most important aspects of your stream is your audio quality. You don’t want to invest in a really good mic and have a horrible echo. When deciding which room to stream in, if a carpeted room is an option – that’ll help. If a carpeted room isn’t an option, then a rug is also a great solution – it’ll help absorb some of that sound that’s bouncing around. – Pipeline
Soundwaves bounce off of flat/smooth surfaces. The goal is to prevent the soundwaves from bouncing by trapping them in uneven textures. Understanding how sound works will help you know where to place your foam/fabric. Think of where the sound is coming from, which way you are facing, and how it would potentially bounce off of the surfaces. You can dampen room reverb/echo with foam sound panels on the walls. Start by placing your foam panels on the wall behind your gaming station, as this is the first place the sound of your terrified screams on late-night horror streams will bounce off. – Gamesight
4. Have a style for your streaming studio
A streamer has just 90 seconds to attract a viewer and make them follow the channel. If not, a visitor leaves and never comes back. The style of a streaming studio is an important part of a broadcaster’s image. First of all, it’s important for potential advertisers. Cause if a streamer has proper studio and tools, it means they’re a professional and likely heavily involved in streaming. Also, consider adding toys, books, or trinkets to your studio: the more, the better. Viewers like to discuss small stuff they see near a streamer, so it improves the engagement rate. – GetStream

5. Setup the perfect filming space
Setting up an idyllic filming spot is a prerequisite for an ideal home streaming setup. Make sure you have adequate lighting, noise and commotion-free environment, and a well-composed background that suits the mood of your live streams. Set up your filming spot in a manner that defines the ambiance of your live streams. – OneStream Live
6. Show your personality through your backdrop
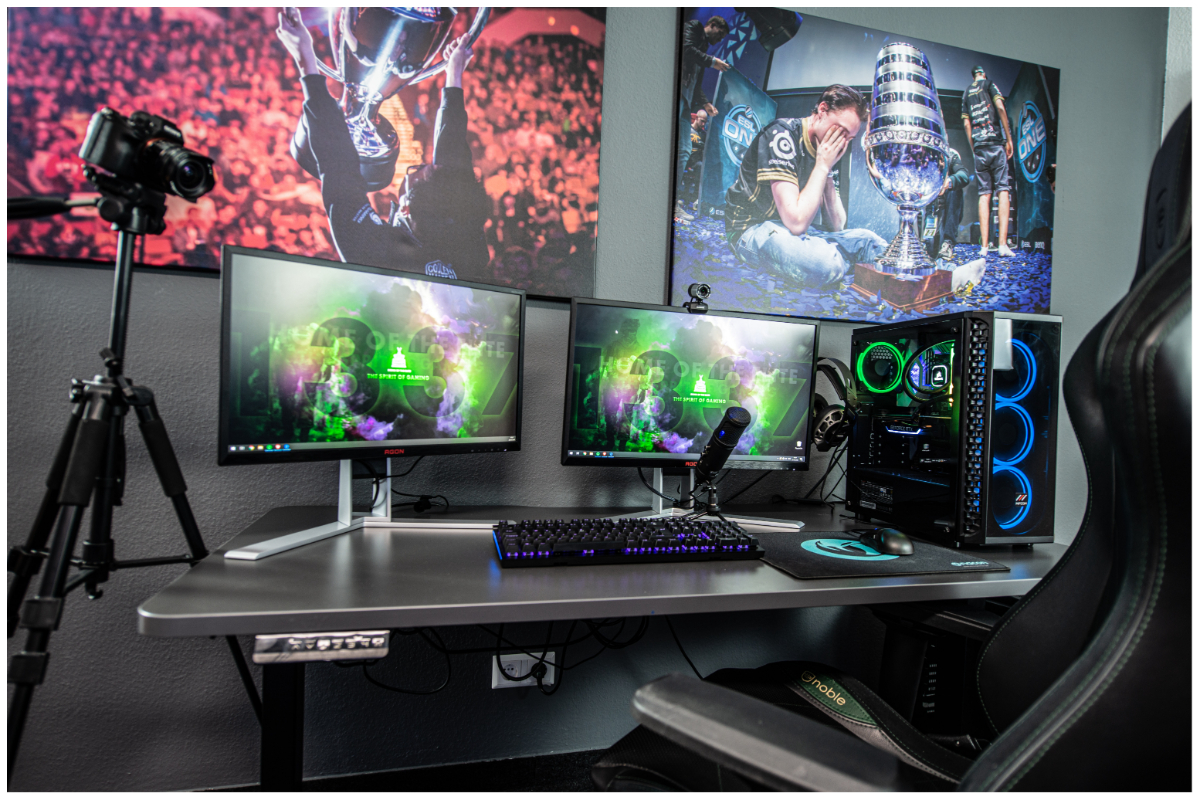
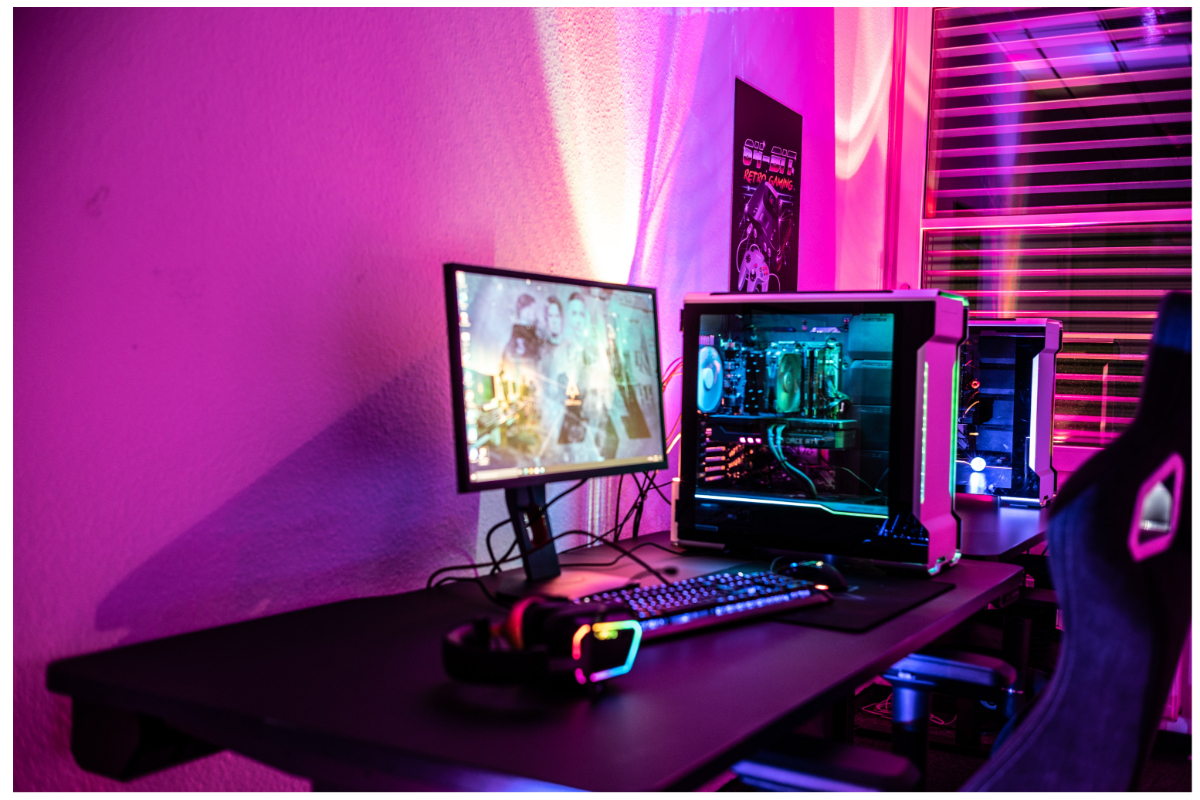
Building a streaming room is no longer just about having space for a computer and two monitors. These days, the tone of your broadcast is shown through your backdrop and is a great way to attract new viewers with similar hobbies. Many successful streamers showcase gaming memorabilia, LED lighting, or even houseplants. The space is more than just a room for equipment; it’s a way to visually showcase who you are and what you’re passionate about. – Chris Grayson, Founder of Stream Scheme
7. Avoid latency issues by using an Ethernet cable
Any devices that could connect via Ethernet cable should be connected that way. It’s the best way to reduce the chances of a low-quality stream. Lighting, microphones, headset, and your background are all important, but if you’re not able to connect your streaming devices via an Ethernet cable, you may risk streaming on a high latency connection. If your WiFi router isn’t in your streaming room or relatively close, or perhaps it’s configured improperly, you probably are dealing with a mediocre connection. Latency is often an overlooked factor when measuring internet quality as speed takes importance for most home streamers. Realistically you don’t need more than a 20 Mb upload speed to stream out to the internet, but if that’s delivered on a high latency connection, you’ll experience problems. – Made By WiFi
8. Create a budget for streaming equipment
A streaming studio budget can be somewhere around $500 and go up to $1,500+ depending on the equipment you choose. If you’ve just started live streaming, the basic equipment you’ll need to create your studio is a camera, microphone, and a video streaming platform. Pro tip – prioritize the gear requirements and then set up a reasonable budget for each gear. – Flutin

9. Gradually improve your streaming setup
From my perspective – just don’t invest a lot of money at the beginning. Even a basic microphone and basic setup can do the job, as long as you have ideas on how to create interesting and engaging content. Improve your streaming setup accordingly to the development of your stream. – birtek on Twitch
10. Consider having two monitors
Two monitors will make your streaming time much easier. But if you can’t allow yourself to have two desktops at the start, a tablet or a mobile phone will work like a charm. You’ll see that reading chat messages, changing scenes, or doing some special effects during your stream will be much easier with two monitors. – inStreamly
11. DIY when you can
For equipment, the most important thing is to have a decent camera like a Logitech c920 and a basic microphone with a pop filter. The rest you can do like MacGyver. For example, putting some material over the bulb to make a simple soft box (be careful not to burn it). – PepperSGT_ on Twitch
12. Consider a standing desk
The keyword for a better streaming experience is ergonomics. Want to stand up and get a better angle for a full body view, or need to sit at a very specific level for optimal concentration, positioning, and lighting? With a standing desk, all is possible, and if you’re going to be sitting around all day streaming, you might as well get the health boost of standing. – Risedesk
